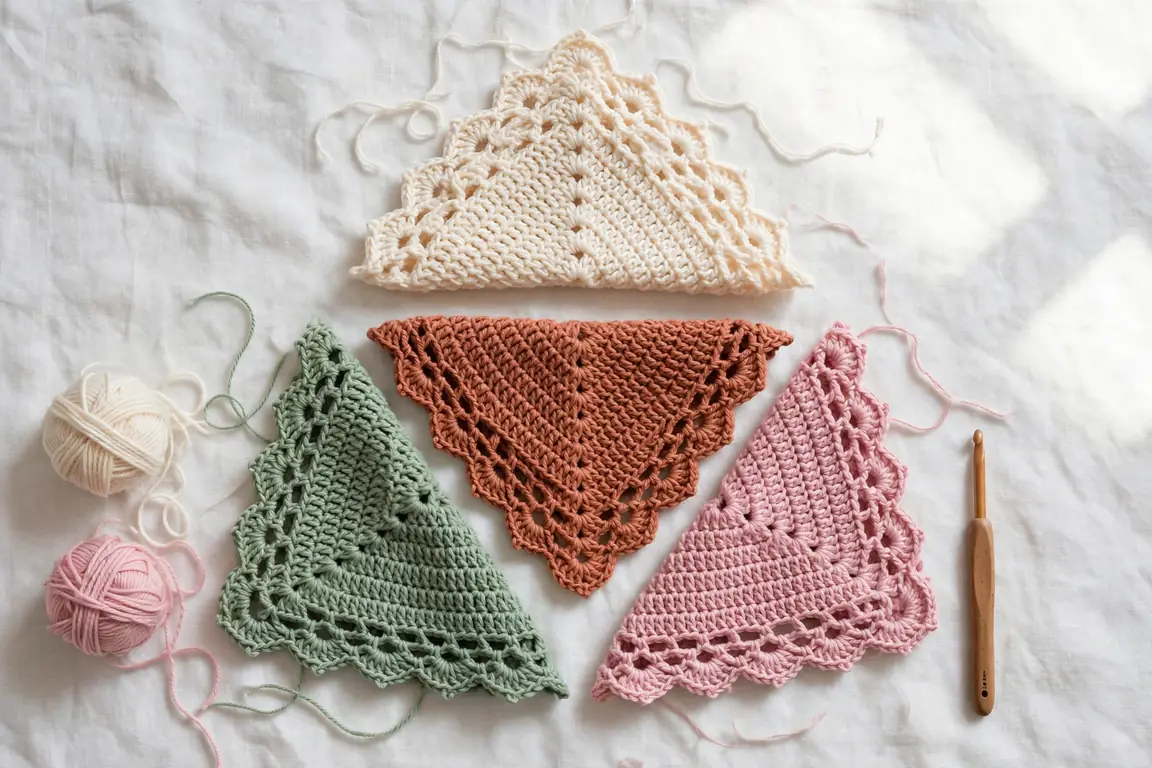
Free Crochet Bandana Patterns: 12 Styles, Fit Tips & Easy Styling Guide
Looking for free crochet bandana patterns that are cute, quick, and easy to finish? You are in the right place.
A crochet bandana is one of the most fun small projects you can make. Most take only 2 to 3 hours. They use very little yarn. And you get a stylish accessory you can actually wear.
This guide gives you 12 free pattern ideas for every taste. It also answers the real questions crafters ask: how big should it be, how do you keep it from slipping, and which yarn works best?
12 Free Crochet Bandana Pattern Ideas
1. Classic Granny Triangle Bandana
The most popular style for a reason. You start with a small triangle and grow it row by row. You can stop at any size. Great for beginners and perfect for using leftover yarn.
2. Granny Square Bandana
Join several small granny squares into a triangle shape. Add a border and ties. This style is perfect when you want to mix many colors.
3. Lacy Mesh Bandana
An open, airy design that feels light on your head. Perfect for hot summer days. It looks delicate but works up fast with simple chain spaces and double crochet.
4. Scalloped Edge Kerchief
A sweet vintage look. Crochet a solid triangle, then finish with a scalloped shell-stitch border. The pretty edge makes it look more finished with very little extra work.
5. Striped Color-Block Bandana
Change colors every few rows for bold stripes. This is a great stash-buster. Use up small balls of yarn that are too little for bigger projects.
6. Shell Stitch Bandana
The shell stitch creates a soft, wavy texture. It looks fancy but uses only basic stitches. It also makes a slightly thicker fabric, which some people prefer.
7. Tie-Back Bandana with Long Strings
Instead of a fixed shape, this style adds long crocheted ties at both corners. You knot it at the back of your head. Longer ties (about 14 inches) work better for thick or curly hair.
8. Ribbed Bandana
Worked with front and back post stitches, this style has a nice stretchy texture. It hugs your head a little better, which helps it stay in place.
9. Two-Tone Bandana
Pick two favorite colors. Work the triangle in one color and the border in the other. Simple, clean, and modern.
10. Mini Bandana / Hair Scarf
A smaller triangle that you fold and tie like a headband. Cute for short hair. It also makes a sweet gift or market item.
11. Filet Crochet Bandana
Filet crochet uses open and filled squares to make a pattern inside the fabric. It looks impressive, but the technique is just double crochet and chains. Try a simple heart or flower motif.
12. Textured Bobble Bandana
Add little bobble stitches for a playful, textured look. Kids love this one. It also works great as a fun summer accessory for adults.
How Big Should a Crochet Bandana Be?
This is the question beginners ask most. Here is a simple guide.
For an adult: the long top edge should measure about 17 to 22 inches (44 to 50 cm) across. When you lay it over your head, the corners should reach toward the nape of your neck.
For kids: about 13 to 16 inches across the top edge.
For thick or curly hair: go bigger. Aim for 20 to 22 inches wide so it covers your hair fully.
Tip: Measure your head before you start. Wrap a soft tape measure from one ear, over the top of your head, to the other ear. This tells you how wide your triangle should be.
Remember, you control the size. Just add or remove rows. Each row makes the triangle a little bigger.
How to Keep Your Bandana from Slipping
This is the most common complaint. A bandana that slides off is no fun. Try these fixes:
- Use bobby pins. Pin at the temples and at the nape of your neck. Crisscross two pins at each spot for extra hold.
- Wear a thin velvet headband underneath. The velvet grips your hair and gives the bandana something to hold onto.
- Add texture to your roots. A little dry shampoo or texturizing spray gives smooth hair more grip.
- Tuck some hair over the bandana edge. This creates friction and helps it stay put.
- Don’t make openwork bandanas too large. Lace stretches over time. A slightly smaller size stays on better.
Best Yarn for Crochet Bandanas
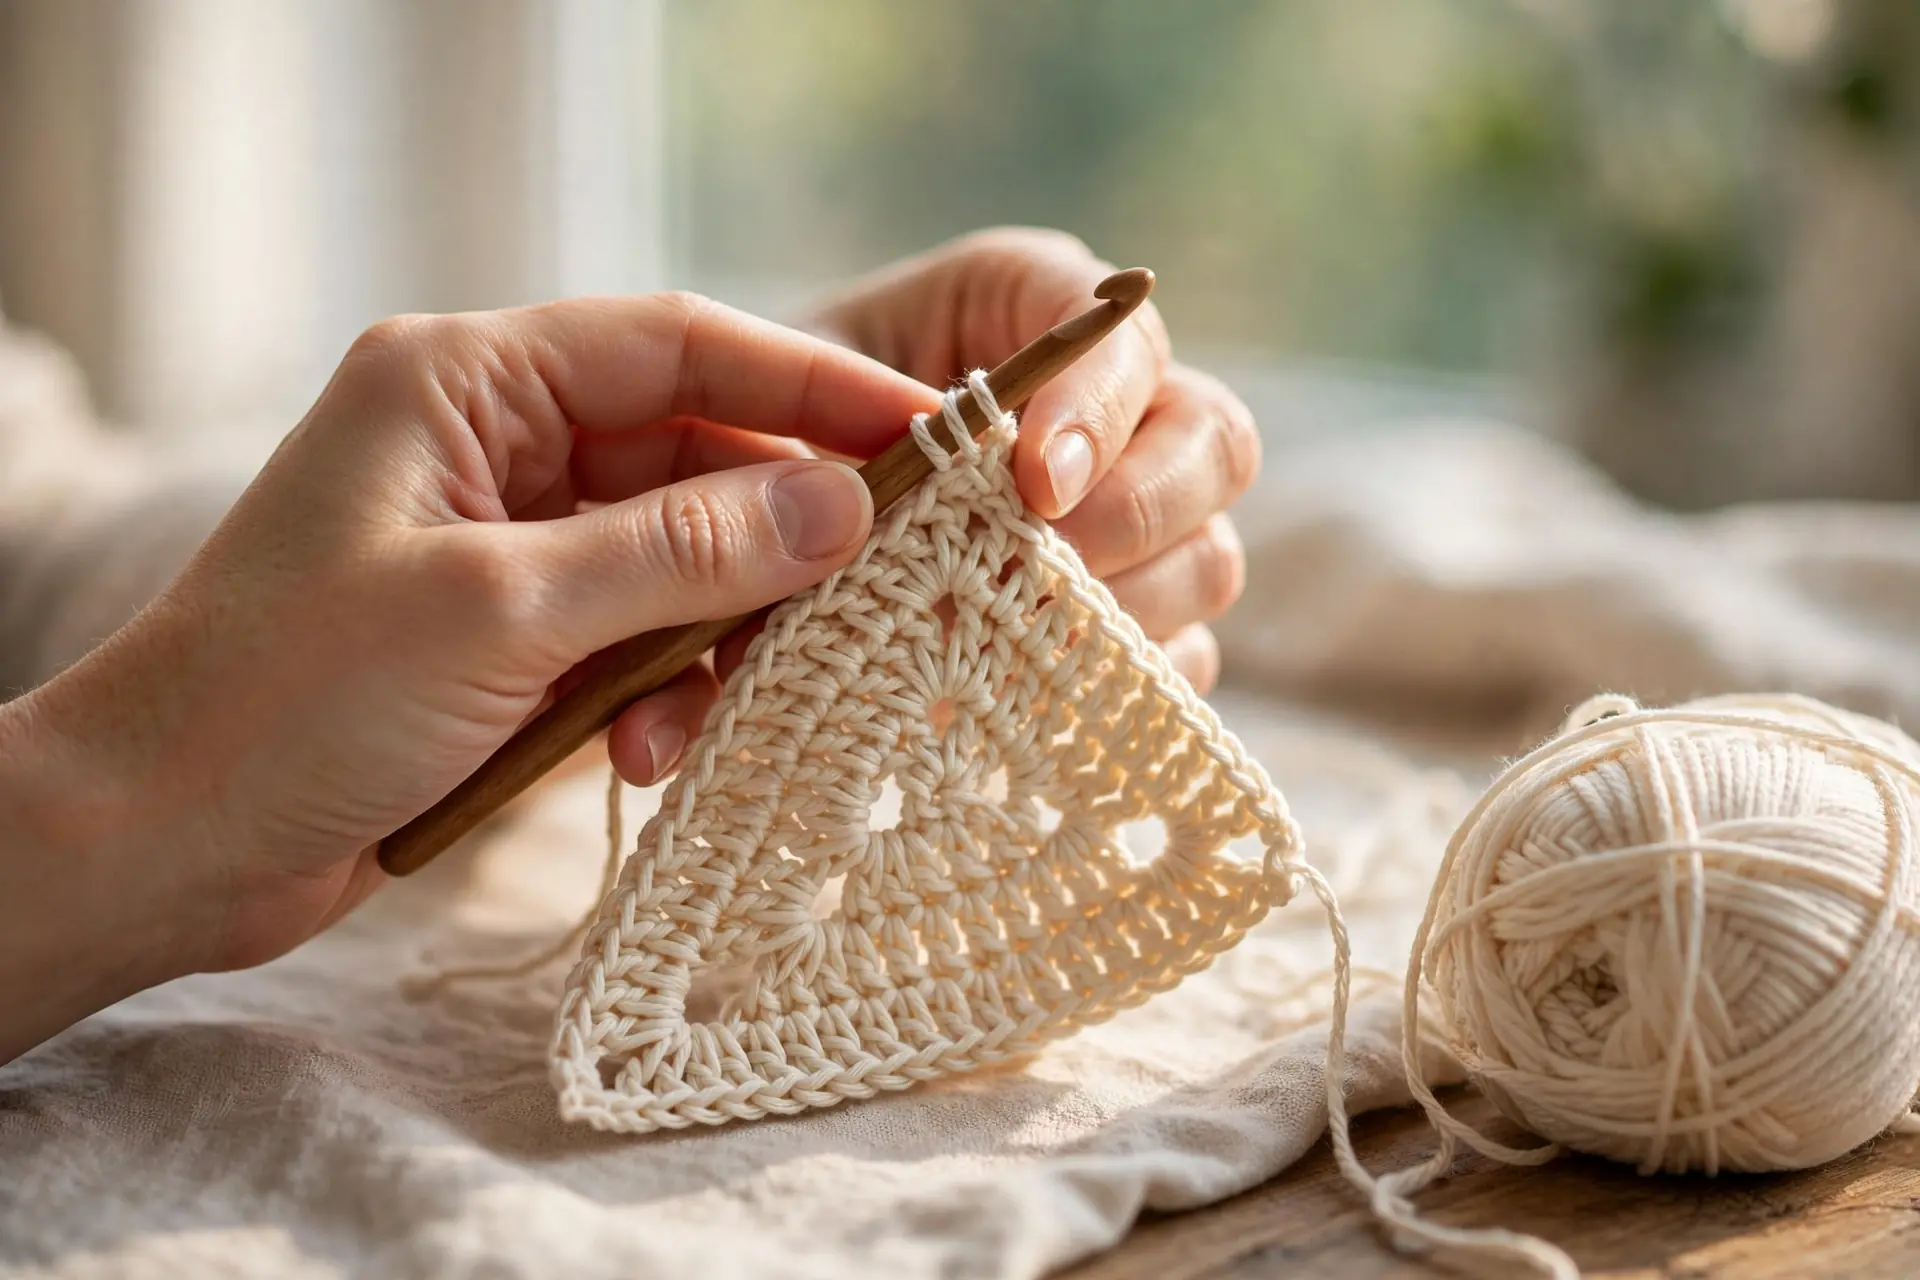
Cotton is the top pick for summer. It is breathable, absorbent, and holds its shape well. It also gives crisp, clean stitches. Your bandana will not stretch out as much in cotton.
Acrylic works too. It is softer and easier to wash. But it can feel warmer on your head, and it stretches more over time.
Yarn weight: DK weight with a 3.5 to 4 mm hook is a great choice. Worsted weight with a 5 mm hook works well too. Avoid going too small with your hook, or the fabric gets stiff. Too large, and it turns floppy.
How much yarn do you need? Only about 50 to 70 yards. That is why bandanas are perfect stash-busters.
Beginner Tips for a Perfect Triangle
Stop the edges from curling. Curling is the number one beginner frustration. Fix it by going up one hook size for your starting chain, counting your stitches every row, and adding a round of single crochet around the edge when you finish. Blocking helps too (see below).
Keep it even. Missed increases make the triangle lopsided. Place stitch markers at the center point and at both ends of each row. They make it easy to see where increases go.
Ties too short? If your tie strings are hard to knot, make them 12 to 14 inches long. That gives you enough length for a comfortable bow.
Struggling with slip stitches on straps? If your tension is too tight, swap slip stitches for single crochet on the straps. It is easier on your hands and looks just as neat.
How to Block Your Bandana
Blocking sounds fancy, but it is simple. Dampen your finished bandana with water. Lay it flat on a towel. Pin it into a neat triangle shape. Let it dry fully before you unpin it.
Why bother? Blocking evens out your stitches and flattens the triangle. Many people are surprised how much better a small accessory looks after blocking.
How to Wash and Care for Your Bandana
Hand wash in cold water and lay flat to dry. This keeps the shape best. Cotton holds its shape better than acrylic after washing. If you machine wash, use a gentle cycle and a mesh laundry bag.
Frequently Asked Questions
Is a crochet bandana really beginner-friendly?
Yes! Most patterns use only basic stitches: chain, single crochet, and double crochet. Your first bandana takes about 2 to 3 hours.
Do I need to block it?
You don’t have to, but it helps. Blocking flattens curling edges and makes your stitches look even.
Will it work with short or fine hair?
Yes. Use bobby pins to anchor it, or fold the bandana into a strip and wear it as a headband tied at the back.
What if I have thick or curly hair?
Make a larger bandana (about 21 inches wide) with longer ties (about 14 inches). The extra size gives you full coverage.
Can I make one without ties?
Yes. Some people sew a short piece of elastic (3 to 4 inches) into the bandana, headband-style. Others attach it to a hair tie.
How long do the ties need to be?
About 8 to 14 inches each. Longer ties are more comfortable and easier to knot.
Ready to Start?
Pick a style you love, grab some cotton yarn, and give it a try. A crochet bandana is a quick win: you start in the morning and wear it in the afternoon.
Want more free patterns? Browse the rest of the blog for beginner-friendly crochet ideas you can finish in a weekend.