How to Crochet in the Round with Video Tutorial
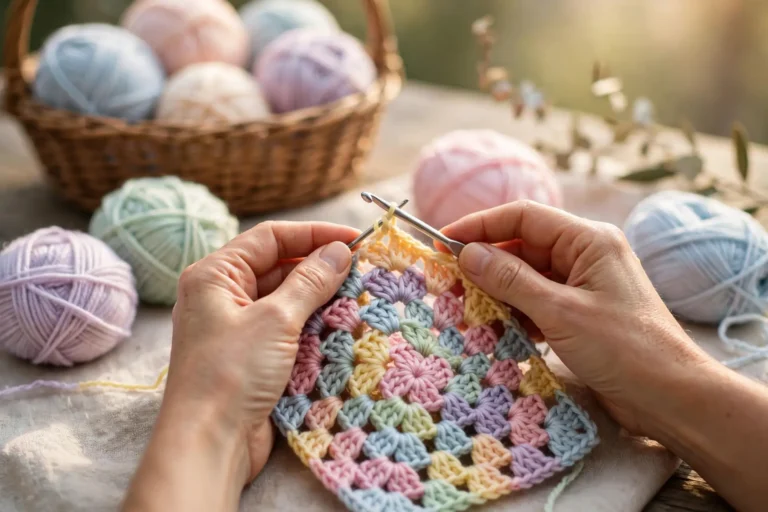
Learning how to crochet in the round is an important skill for beginners. This technique is used to make crochet circles, hats, baskets, granny squares, and amigurumi. Instead of working back and forth in rows, you crochet around a center point.
What You Need
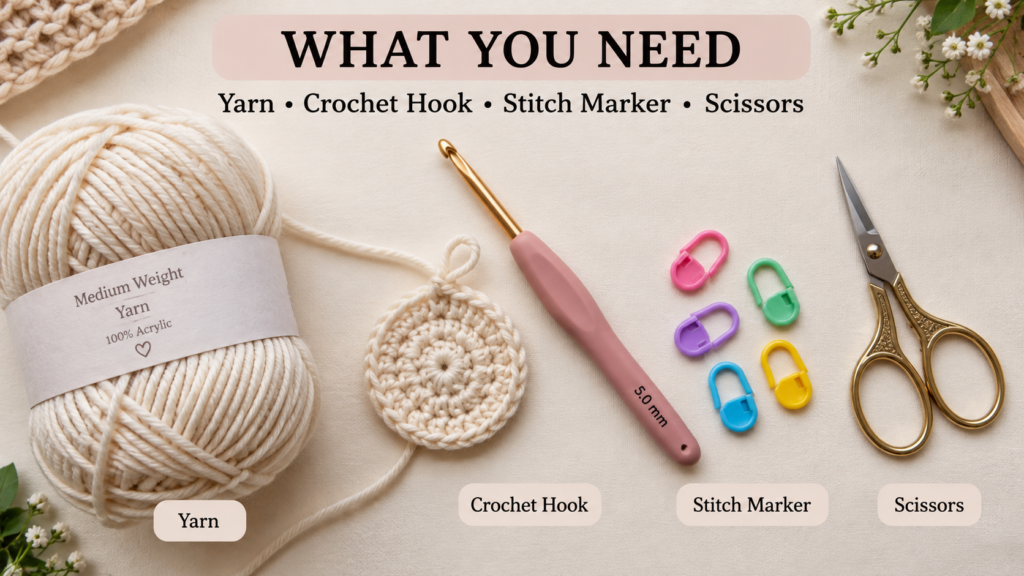
To practice crocheting in the round, you only need:
- Yarn
- Crochet hook
- Stitch marker
- Scissors
[Image 1: Crochet in the Round Materials]
Step 1: Make a Magic Ring
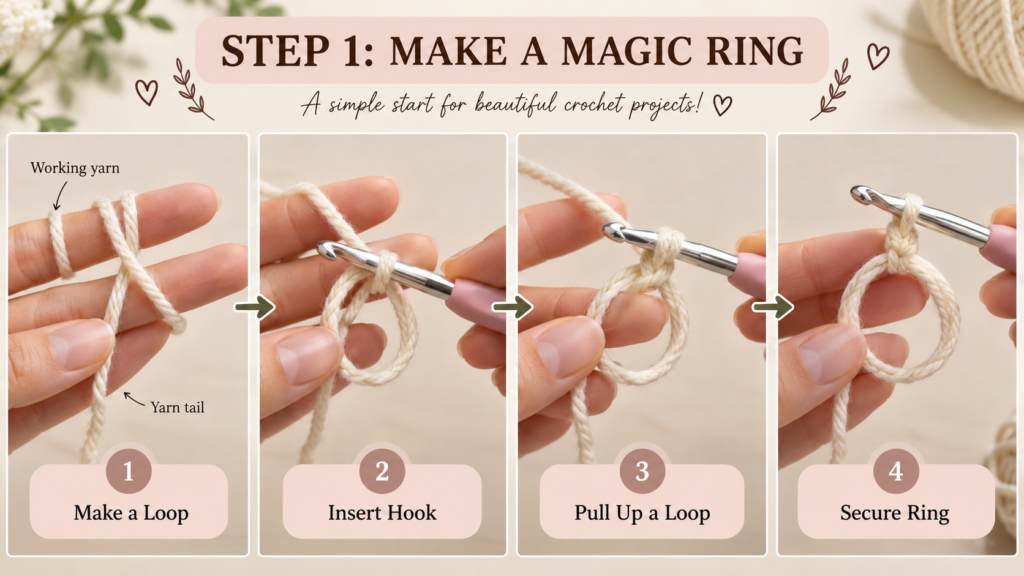
Start by making a magic ring with your yarn. Insert the crochet hook into the loop, pull up the yarn, and secure it.
The magic ring creates an adjustable center that can be pulled closed after the first stitches are completed.
[Image 2: How to Make a Crochet Magic Ring]
Step 2: Crochet the First Round
Work 6 single crochet stitches (sc) into the center of the ring. Once all six stitches are complete, gently pull the yarn tail to close the center.
Round 1: 6 sc into magic ring — 6 stitches
[Image 3: 6 Single Crochet Stitches in Magic Ring]
Step 3: Place a Stitch Marker
Place a stitch marker in the first stitch. This helps you identify where each round begins and prevents you from losing your stitch count when working continuously.
[Image 4: Stitch Marker in First Crochet Stitch]
Step 4: Start Increasing
To make a basic flat single-crochet circle, add increases as the circle grows.
Round 2: 2 sc in each stitch — 12 stitches
Round 3: (1 sc, increase) repeat around — 18 stitches
Round 4: (2 sc, increase) repeat around — 24 stitches
An increase simply means working two stitches into the same stitch.
[Image 5: Crochet Increase Step]
Continuous vs. Joined Rounds
There are two common ways to crochet in the round.
In continuous rounds, you keep crocheting in a spiral without joining each round. A stitch marker helps track the beginning. In joined rounds, you close the round, typically with a slip stitch, before starting the next one.
[Image 6: Continuous vs Joined Crochet Rounds]
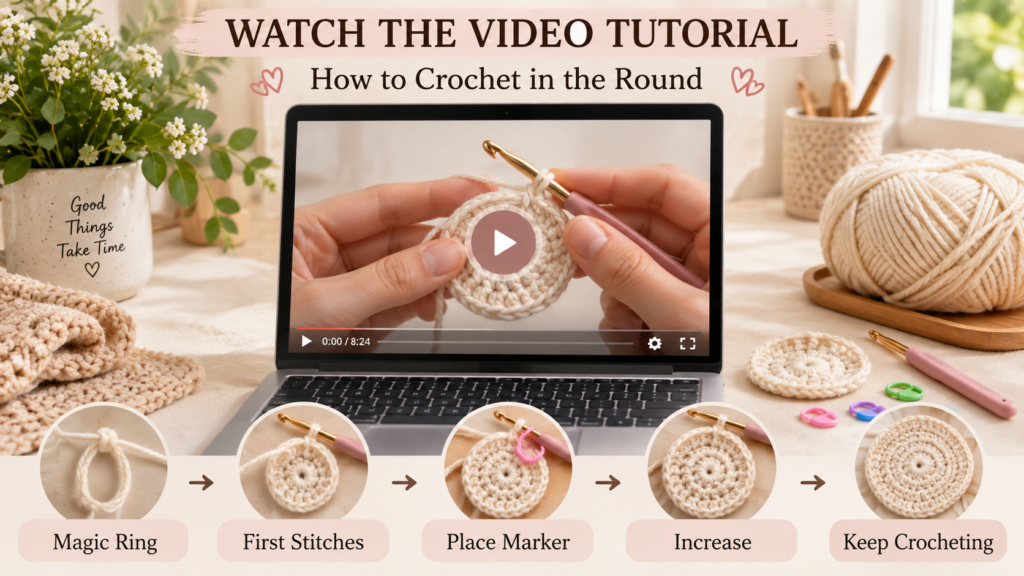
Watch the Video Tutorial
Follow the video tutorial to see each movement clearly:
Magic Ring → First Stitches → Close the Ring → Place Marker → Increase → Continue Crocheting
Watching the hand and hook positions can make the technique much easier to understand for beginners.
[Image 7: How to Crochet in the Round Video Tutorial]
Final Tips
Always count your stitches at the end of each round and use a stitch marker when working continuously. If you are making a flat circle, follow the increase instructions in your pattern; increases are what allow the piece to expand outward rather than simply forming a tube.
Once you learn how to crochet in the round, you can use the same basic skill for amigurumi, hats, baskets, coasters, bags, and many other crochet projects.